Showing posts with label Baking. Show all posts

Friday, October 14, 2011

Movies, Baking, & Lovely Friends

(Some Pictures stolen from Nina. Hoho!)

First of all, I'm sorry for the lack of make-up and the fact that my facial nemesis; pimples, decided to reveal itself with a posse. Not cool. 

With that said, I MET NINA FOR THE FIRST TIME!! *happy dance*

We were supposed to meet at the Mysterium Exhibit, but things didn't work out well. So she sent me a message, and we got to talking and ended up with a simple plan of hanging out at my house with Ina and Elle!! Which was totally mint, since I desperately needed girl time. Huzzah!

When they arrived, we decided to just bake first and eat the goods when we're watching the movies! 
On the menu that day: Lava cake & Apple Pie! (two of my best recipes, and personal favourite)
Since I had little slaves, *cough* I mean helpers, I asked them to do some baking stuff! I mean that's what friends do in these type of stuff.. Right? So! Nina melted the chocolates, Ina beat the eggs, while Elle and I worked on the pie.

They had pasalubong for me!! Well, for us.. Haha!

The mini apple pie I baked for Nina cause she couldn't eat chocolate (I felt crushed for her) for reasons stated in her blog that you should really check out! :: http://the-fashionina.blogspot.com
And can I just boast that she said "I absolutely love Seed's Apple Pie" 
YUZ.


We watched Bridesmaids (Hilar, and the lead guy was adorable!) and Elvis & Anabelle cuz they HAVE NOT seen it yet and I just HAD to make them watch it!! We were supposed to take a stroll in the park, but it was raining almost the whole day :(

PHOTOBOOTHPICS!


I basically look the same no matter how I try to look different :|

I had the best-est, funnerific time with these girls!! They have awesomesauce all over them.
Check out their blogs!:
http://whaleward.blogspot.com
http://aslipperymaiden.blogspot.com
http://the-fashionina.blogspot.com


(Random iPhone Pics)

Happy Saturday!

Saturday, June 11, 2011

How To: Red Velvet Cupcakes


I’ve always wanted to bake Red Velvet Cupcakes! Why? Because one, they’re red. I mean, how cool is that? Two, their prestigious rep is unfailing. I haven’t come across a bad review about them. And three, they’re red! That should be reason enough to bake these little suckers. My friend Dannah hopped over to my house and helped with baking. (And boy, do I LOVE baking with my friends!)

Wednesday, April 13, 2011

Nuttella Fudge Brownies (Recipe & How To)


I don’t know if you’ve heard, but Nutella has been quite famous among us young people. It has become a thing. A fad. You buy a jar, and you’re cool. It’s just how things are. And you can never go wrong with Nutella. The way I see it, the universe has come at peace with chocolate and hazelnuts, and produced Nutella. Anything with Nutella is simply better. You can eat it straight out of the jar, delicately spread on a piece of bread, or brilliantly incorporated into a brownie!
The recipe I’m about to share with you is one of the easiest recipes I’ve done. With just 5 ingredients all in all, how could you resist? I was absolutely shocked when I saw this recipe on the Internet. I mean, aside from the fact that it’s a brownie graced with the glory of Nutella, its unbelievably quick and easy to make!
We had a photoshoot at our house for my friend Miles’ project and I had the opportunity to bake these delicious fudgy brownies for them. Her sister, whom coincidentally is Trish Magcase (my partner in crime on our baking blog), helped me bake these little bad boys while they were busy working in the other room. We had so much fun baking these, and we practically had to stop ourselves from sticking our fingers into the batter because the smell was just mouthwatering!
They loved the brownies especially after a tiring photoshoot, it was just the perfect thing to munch on. You can literally taste the hazelnut, and they had just the right amount of chocolatey-ness, and fudgey-ness you could ask for in a brownie. Plus those chocolate swirl chips give it just the right kick of sweetness, which you can also substitute with real hazelnuts for a variation in texture. So, I hope you really enjoy baking these wonderful brownies as much as we did. I assure you, Nutella will definitely make your day. Bakenjoy!

Read more for recipe!

Tuesday, January 11, 2011

Heart Shaped Chocolate Ice Cream Sandwiches: How To

I've always loved Ice Cream sandwiches but I can never find a good place to buy it from other than Dairy Queen. Plus, I was in need of a good recipe for my next article. So I'm like, what the heck! I'm going to make Ice Cream Sandwiches.


This recipe is going take a bit of patience because you constantly have to keep the dough chilled for you to be able to cut it. So a little tip: While the first batch is baking, cut out the next batch and then place them on parchment paper or foil with a little bit of flour and put them back into the chiller. When the first batch is finished baking, place the precut ones you’ve chilled beforehand onto the baking sheet and repeat the process. Bakenjoy!


Ice Cream Sandwiches 
(adapted from Martha Stewart's Chocolate Strawberry Ice cream Sandwich Recipe)

Depending on how thick or thin you roll the dough out, the amount may vary.


·  2 3/4 cups all-purpose flour, plus more for dusting
·  1/2 cup cocoa powder
·  2 1/2 teaspoons baking powder
·  1/4 teaspoon salt
·  12 tablespoons (1 1/2 sticks) unsalted butter, room temperature
·  1 1/2 teaspoons Vanilla Extract
·  1 1/2 cups sugar
·  2 large eggs
·  1 tablespoon milk
· Optional: Sprinkles, Chocolate Chips, m&m, etc.
·  Ice Cream


  In a medium bowl, sift together flour, cocoa powder, baking powder, and salt, and set aside.


 In the bowl of an electric mixer fitted with the paddle attachment, or with just a spatula or spoon, cream butter, vanilla, and sugar. Add eggs and milk, and mix until combined.


Add reserved flour mixture, and mix on low speed until incorporated, scraping the sides of the bowl at least once. Divide the dough in half, and shape each half into a flat disk. Wrap each disk in plastic wrap, and chill until firm, about 1 hour. 


  Preheat the oven to 350 degrees. Roll dough out on a floured surface, sliding an offset spatula under the dough to release it every few turns of the rolling pin. Roll dough to 1/8 inch thick. Cut dough using a variety of heart-shape cookie cutters 2 1/2 to 3 inches in diameter, making sure each cookie has a match to make a sandwich. Place hearts on a parchment-lined baking sheet; chill until firm, about 30 minutes. Remove from refrigerator; use a fork to prick the cookies all over with holes. Bake until just firm, 7-12 minutes. Let cool on baking sheet; transfer to a wire rack. 


  With the underside of half the cookies face up, place cookie cutter on the cookie, and spoon softened  ice cream into the cookie cutter about 1/2 inch thick to cover one side. Smoothen the top and spread to sides until the ice cream takes the shape of the heart, and with your spoon on the smooth surface, pull the cookie cutter off. Place matching cookie on top of ice cream, top side facing out. Optional: Add the sprinkles. Transfer immediately to freezer to harden; repeat with remaining cookies and ice cream. Serve directly from the freezer. Sandwiches can be kept stored in an airtight container in the freezer for 3 to 4 days.


And there you have it! Instant bliss~ aahh


They were quite delicious. Let them chill overnight for best results, so the cookie can soften and set onto the Ice Cream. So its best to do this a day before serving. But I just know you're biting into it the moment you've placed the top cookie on! Well, that's what I did!

I hope you enjoyed this little How-To, and I hope you enjoy these little beauts as much as I did.


Happy Tuesday!~


Saturday, December 11, 2010

Drummer Boy Pie

Its not at all Christmas related. Its our Youth Leader's birthday and he happens to be a drummer and an avid lover of my pie. So I made him a Drummer Boy pie:


I was so sad when the pie came out. The design was all covered up by the sauce. And I worked  so hard on it! You can still see it but you'll have to really stare at it and that wasn't what I was going for.

Oh well. But my guitar one was pretty awesome :


I baked this beaut on my guitarist friend's birthday.

We're having a surprise birthday party for him tomorrow. Its gonna be super epic. I'm beyond excited!

MORE PIE PHOTOS!


That's all for today!

DAYS TILL CHRISTMAS!!

 
Happy Saturday!~

Thursday, December 2, 2010

Papercrane Funfetti Cupcakes! (How To)

This afternoon I baked these delicious and pretty little cupcakes for my January article, and you guys get a sneak peek of the article!


Aren't they just the prettiestest thing in the whole widee woorld? *___*

Okay! here's how you do it!
(adapted from BakingBites.com)

What you'll need:
  • 1/2 cup milk
  • 3 large egg whites
  • 1 tsp vanilla extract
  • 1/4 tsp almond extract
  • 1 1/4 cups all purpose flour
  • 1 cup sugar
  • 1/2 tsp salt
  • 2 tsp baking powder
  • 6 tbsp butter, soft
  • 2 tbsp rainbow sprinkles
 Preheat oven to 350F.

Line a 12-cup muffin tin with paper liners.


 In a separate bowl, whisk together milk, egg whites, and extracts. Set aside.


 In a large bowl, combine Sugar, Flour, Salt, and baking powder. Stir to Combine. With a hand held mixer on low, (or just by using your hands) Cut in butter and mix until the mixture is coarse and sandy.


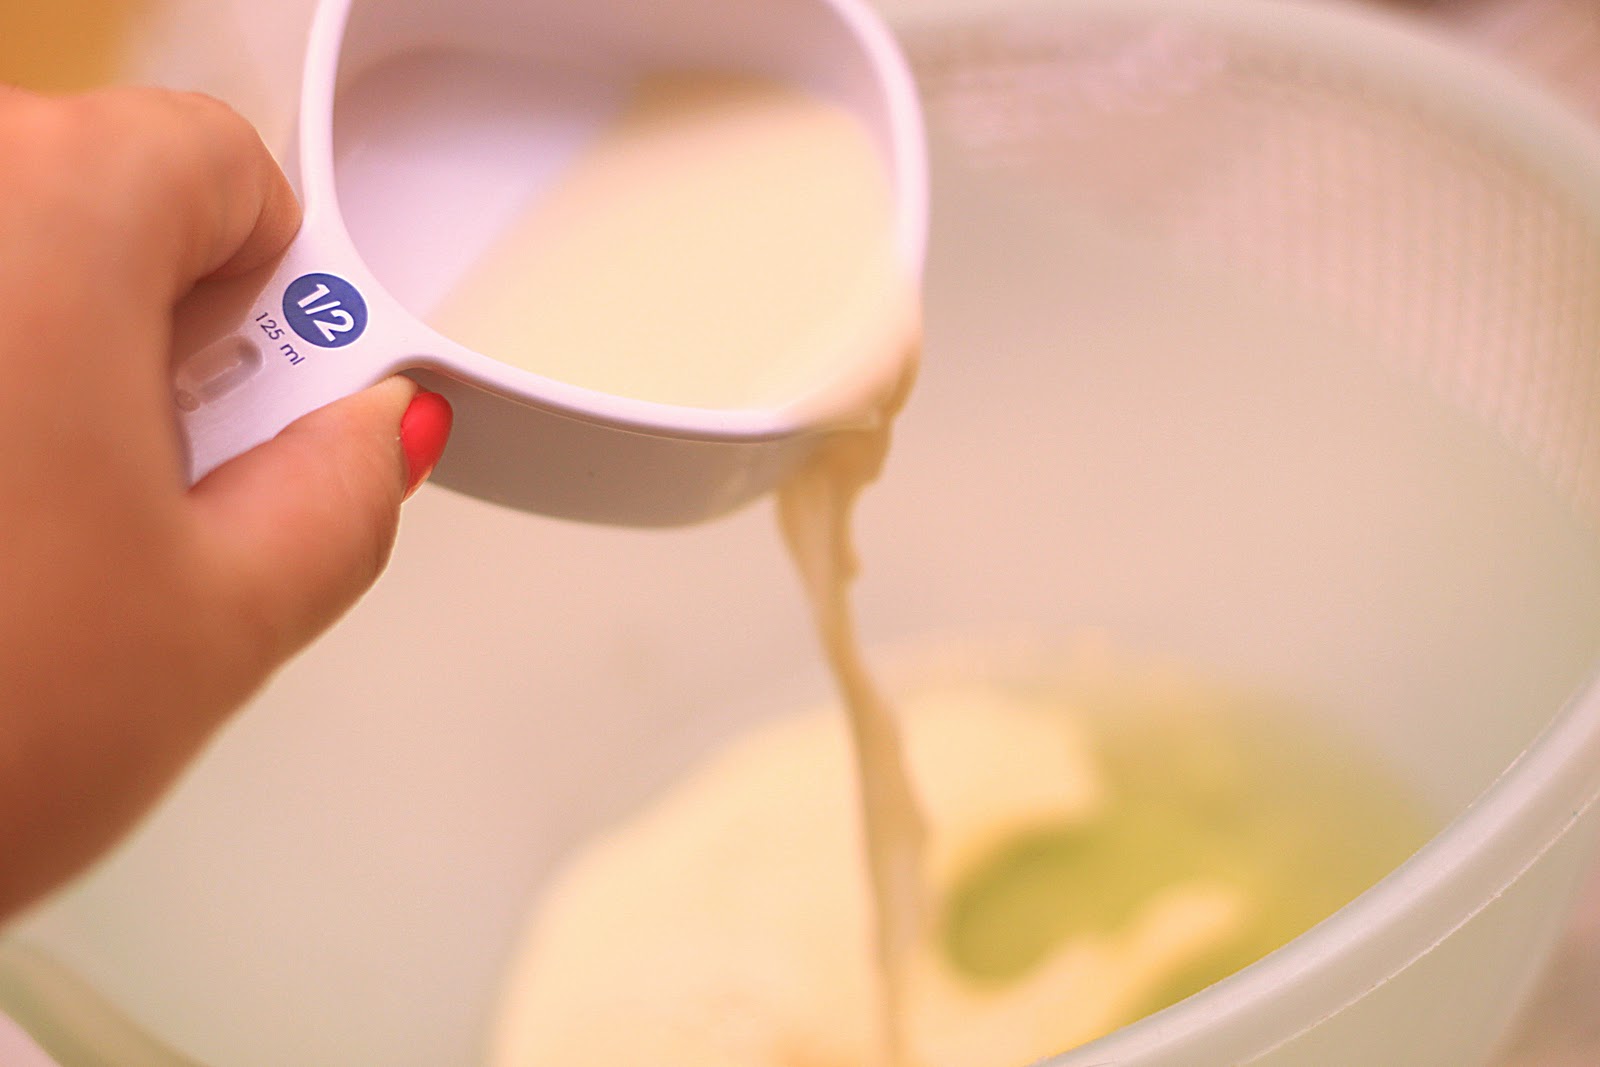
Mix in Milk mixture and beat at medium speed for 1 1/2 minutes. Scrape sides of bowl and continue beating for 20-30 seconds.


 Stir in Sprinkles.


Divide batter evenly into prepared tin. Bake for for 15 minutes, or until a tester comes out clean.


Remove from pan and cool completely on a wire cooling rack before frosting.
Makes 12.

Now for the Marshmallow frosting:

  • 1 cup sugar (or less if you don't like it being too sweet.)
  • 2 large egg whites
  • 1/3 cup water
  • 2 teaspoons light corn syrup
  • 1/4 teaspoon cream of tartar
  • 1 teaspoon vanilla extract
Whisk sugar, egg whites, 1/3 cup water, light corn syrup, and cream of tartar in large metal bowl to blend. Set bowl over saucepan of barely simmering water (do not allow bottom of bowl to touch simmering water). Using handheld electric mixer, beat on medium speed until mixture resembles soft marshmallow fluff, about 4 minutes or more. (I had a really hard time with this part, its very tiring! But super worth it!)


Increase mixer speed to high and beat until mixture is very thick, about 3 minutes longer. Remove bowl from over simmering water. Add vanilla extract and continue beating until marshmallow frosting is completely cool, about 5 minutes longer. Add a couple of drops of food colouring if you'd like to spice it up a bit!


When cool, frost or pipe on cupcakes and add more sprinkles, if desired.


FINISHED PRODUCT:

 
Those little paper cups were just cut up pieces of paper that I wrapped around the cupcake and taped together. Although you don't need to do that! 

And yes, I did put paper cranes on the cupcake just like the photo I posted last week. I was so in love with the idea, I had to do it!

And you'll never guess what's behind that blue paper in the background. O_O........ A TURTLE BOWL WITH A TURTLE THAT I'VE FORGOTTEN WE HAD. O: (but the maids have been taking care of him lol)

It was a gift to my little sister by one of her friends. I never really cared so much but I was so shocked that I screamed out "WE HAVE A TURTLE??" 
I was shooting outside you see for better lighting! :D

Well anyway, I hope you enjoy baking Funfetti Cupcakes as much as I did! 


HEEY YOO LOOK Random photos!

I made this catching fire bookmark. Its not as good as my Hunger Games bookmark though!


This here is chowder! I don't think I've posted a photo of him here before. So there you go! :)

I got my hands on some pretty sprinkles (the ones I used on the cupcakes and some others) and a tub of MOLASSES!!!!!!!! I CAN FINALLY BAKE GINGERBREAD COOKIES THIS CHRISTMAS! <3 *happy dance*


ANNNNND....


DAYS TILL CHRISTMAS!!!!!

HEY WOW LOOK OMNOMNOMNOM!~


Happy Thursday!

P.S. Thank you to all my siblings (and I do mean all of them) who took the photos whilst I was baking! Couldn't have done it with out ya!